So you are interested on QEMU with KVM, which in my opinion it is the best VM software for GNU/Linux. Why? Mainly because the kernel modules needed for KVM are part of the Linux kernel which means it would not create a mess like VirtualBox, also QEMU used together with KVM can achieve near native performance, and last but not least, they are free and open source unlike VMware.
Prerequisites
To check whether virtualization is enabled or supported by your processor, run the following command:
LC_ALL=C lscpu | grep Virtualization
For Intel processors, it should return Virtualization: VT-x, and for AMD processors, it should return Virtualization: AMD-V. If nothing is displayed after this command, it means that either your CPU does not support virtualization or it is not enabled. If your CPU was manufactured in the last 10 years, it should have virtualization support, you just need to enable it in your BIOS.
Installation
To install all the needed packages, run the following command:
sudo pacman -S qemu virt-manager ebtables dnsmasq vde2
- Qemu: Provides the actual emulation layer.
- KVM: The technology in the Linux kernel for using accelerated virtualization.
- Virt-manager: GUI for libvirt, a software for managing virtual machines.
- Ebtables: Filtering tool for a Linux-based bridging firewall.
- Dnsmasq: DNS forwarder and DHCP server.
- Bridge-utils : Network bridge needed for VMs
- Vde2: Virtual Distributed Ethernet for QEMU and other emulators.
After that, you will need to enable the libvirt service using sudo systemctl enable --now libvirtd. You can check the libvirtd service status with sudo systemctl status libvirtd, which should output something similar as below, make sure that it says it is loaded and active.
● libvirtd.service - Virtualization daemon
     Loaded: loaded (/usr/lib/systemd/system/libvirtd.service; enabled; vendor preset: disabled)
     Active: active (running) since Tue 2021-10-12 14:12:19 CEST; 1min 4s ago
TriggeredBy: ● libvirtd-admin.socket
             ● libvirtd.socket
             ● libvirtd-ro.socket
       Docs: man:libvirtd(8)
             https://libvirt.org
   Main PID: 1685157 (libvirtd)
      Tasks: 19 (limit: 32768)
     Memory: 10.3M
        CPU: 287ms
     CGroup: /system.slice/libvirtd.service
             └─1685157 /usr/bin/libvirtd --timeout 120
By default only the root can create and manage virtual machines. In order to use KVM with your standard user, you can add your user to the libvirt group with:
sudo usermod -G libvirt -a user_name
Create a VM
Open “virt-manager” and select the “+” button: 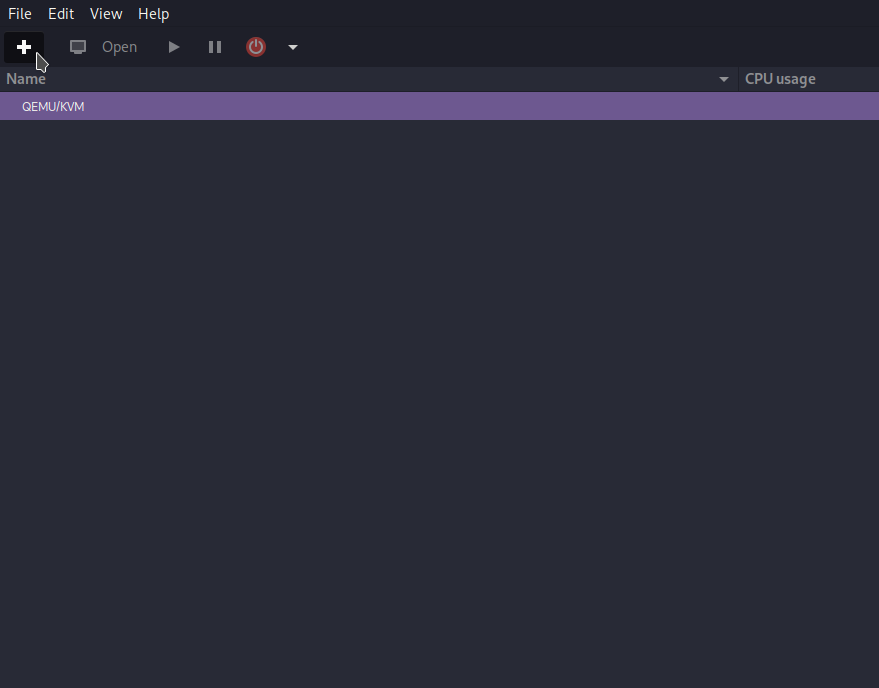
If you have an ISO already installed, select the first option, “Local install media” and click “Forward”. 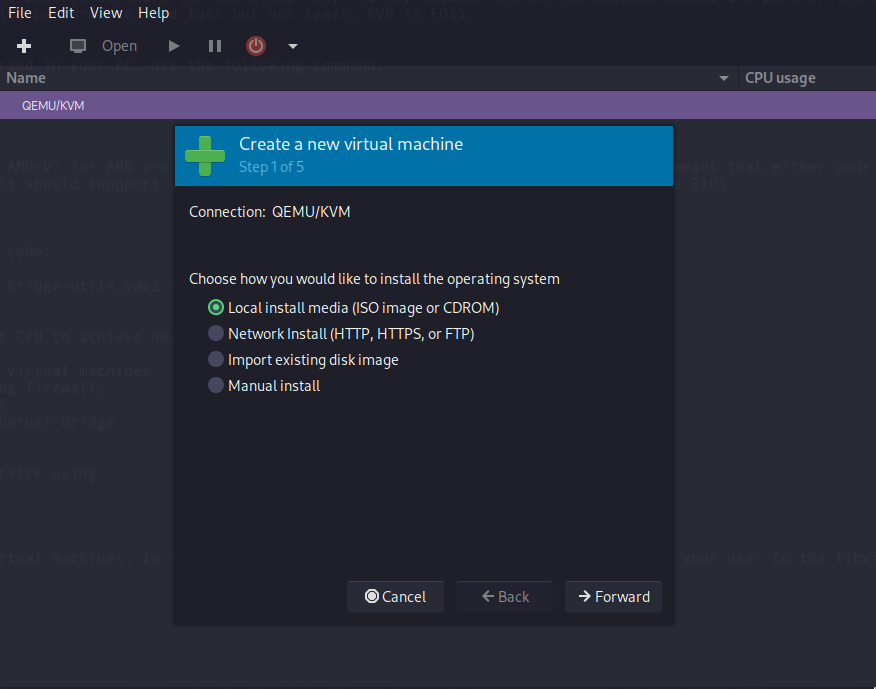
Next you can select “Browse” and choose your downloaded ISO, also if the automatic detection of the operating system did not work, you will need to uncheck the option “Automatically detect from the installation media/source” and manually select it. 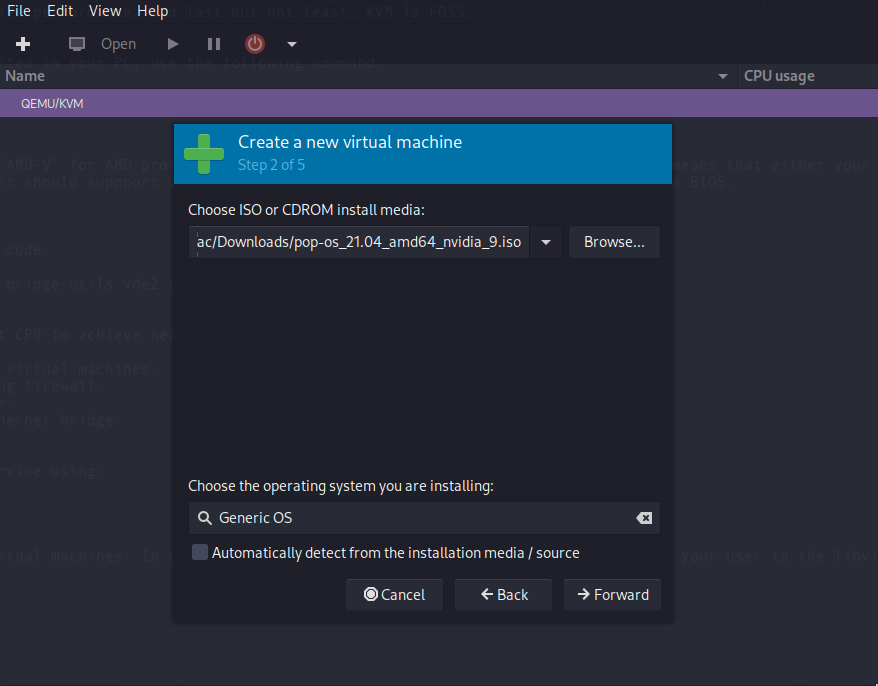
Now you can choose the amount of RAM and CPU cores you want to allocate for this VM, if you just want to test out a Linux distribution, 4GB RAM and 2 cores will be more than enough. 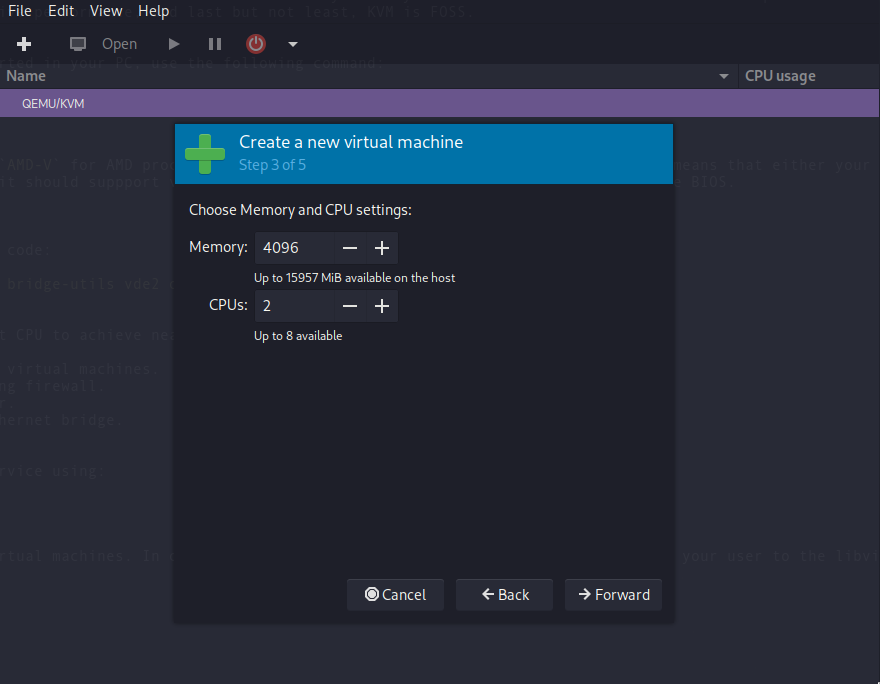
Then choose the desired disk size for the Virtual Machine. 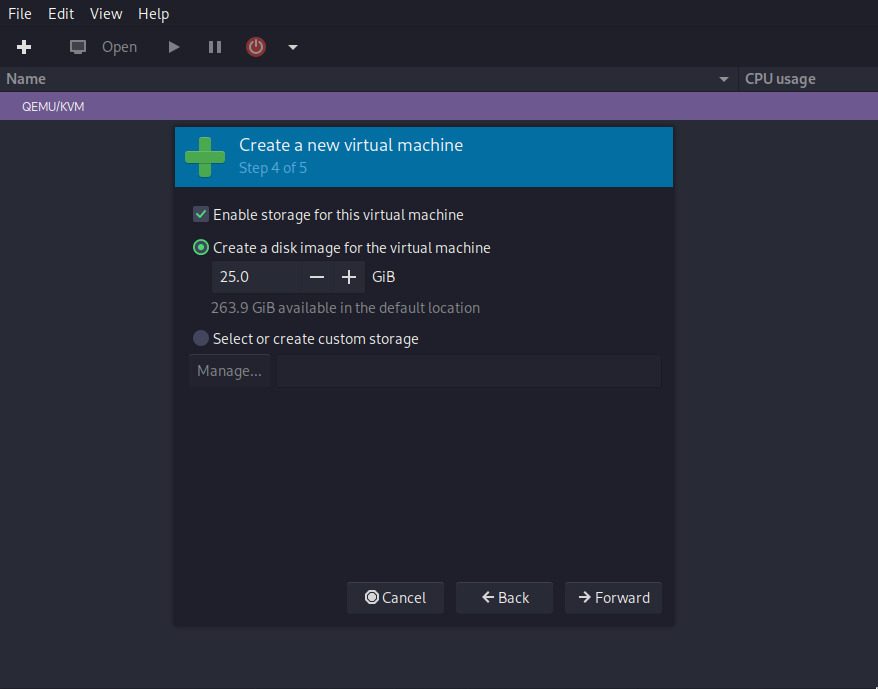
Double-check your configuration, choose the name you like for the VM and select your preferred network connection, usually the default option works fine. 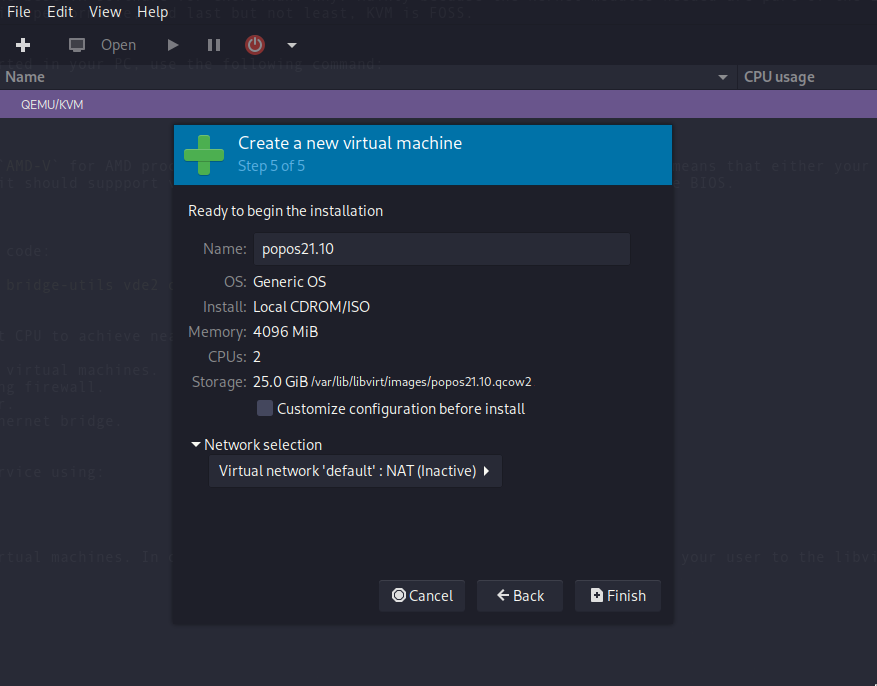
If this is the first time a VM is created, virt-manager will display a window asking to start the network service, if this window appears, click yes. 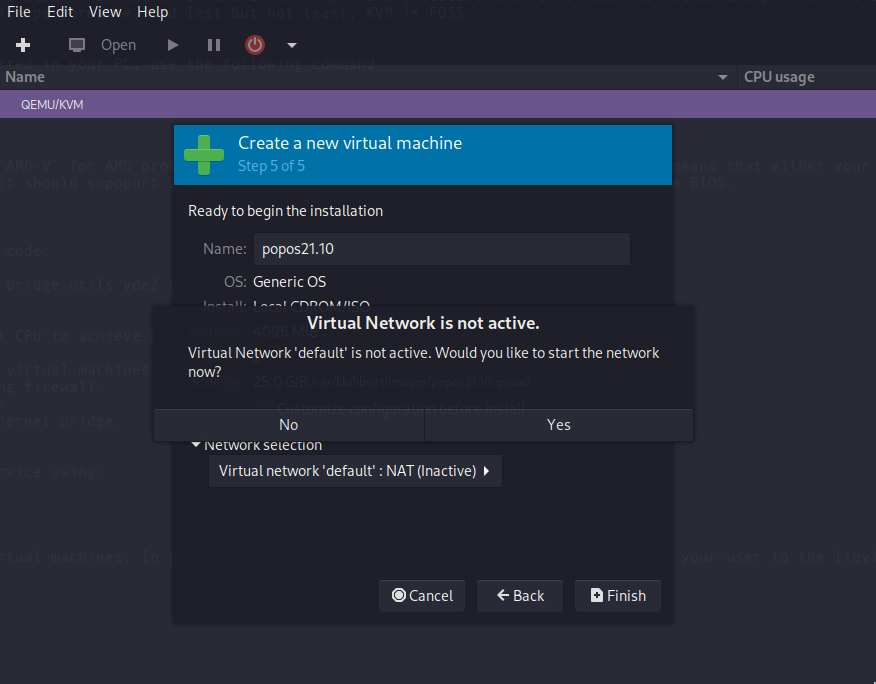
Optional
Nested virtualization
If you want to run another VM inside a VM run these commands on the host:
# For Intel:
sudo modprobe -r kvm_intel
sudo modprobe kvm_intel nested=1
# For AMD:
sudo modprobe -r kvm_amd
sudo modprobe kvm_amd nested=1
However, you will need to run these commands each time you reboot, if you want to make it persistent, create /etc/modprobe.d/kvm_intel.conf and write:
options kvm_intel nested=1
You can verify that the nested virtualization is working with the command:
# For Intel:
systool -m kvm_intel -v | grep nested

# For AMD:
systool -m kvm_amd -v | grep nested
Which should return: nested = "Y"
Snapshots
Snapshots save the current state of a VM for future use, if you are going to make a potentially destructive operation, it is recommended to create a snapshot before in order to revert to the previous state of the VM if something goes wrong.
To create a snapshot in virt-manager, open the window of the VM you want to create a snapshot and select the last button in the toolbar: 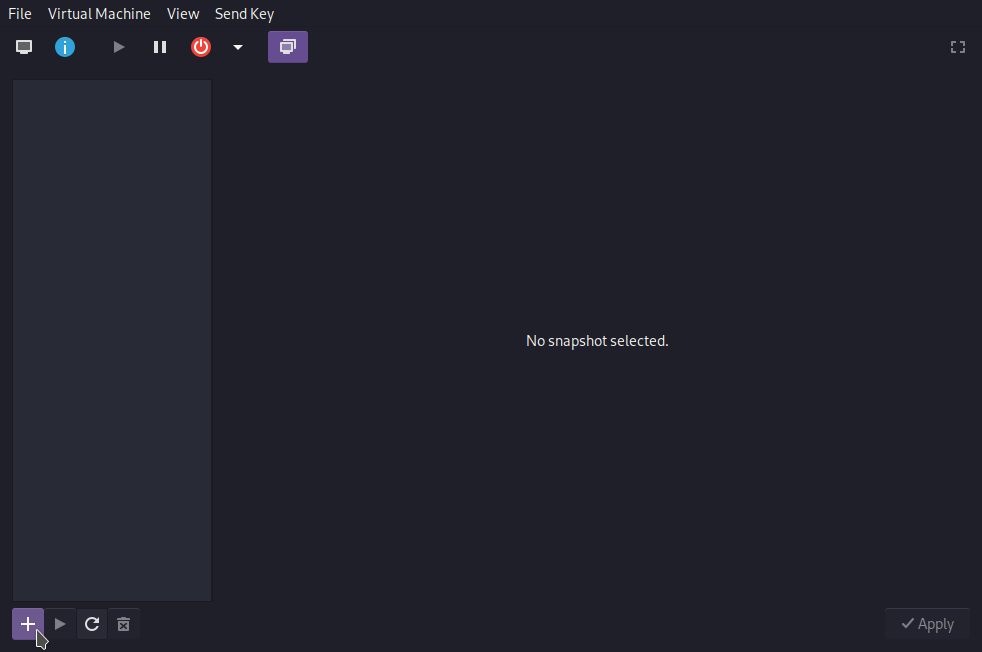
Now select the “+” button in order to create a snapshot: 
Finally, choose a name and write a description for your snapshot. 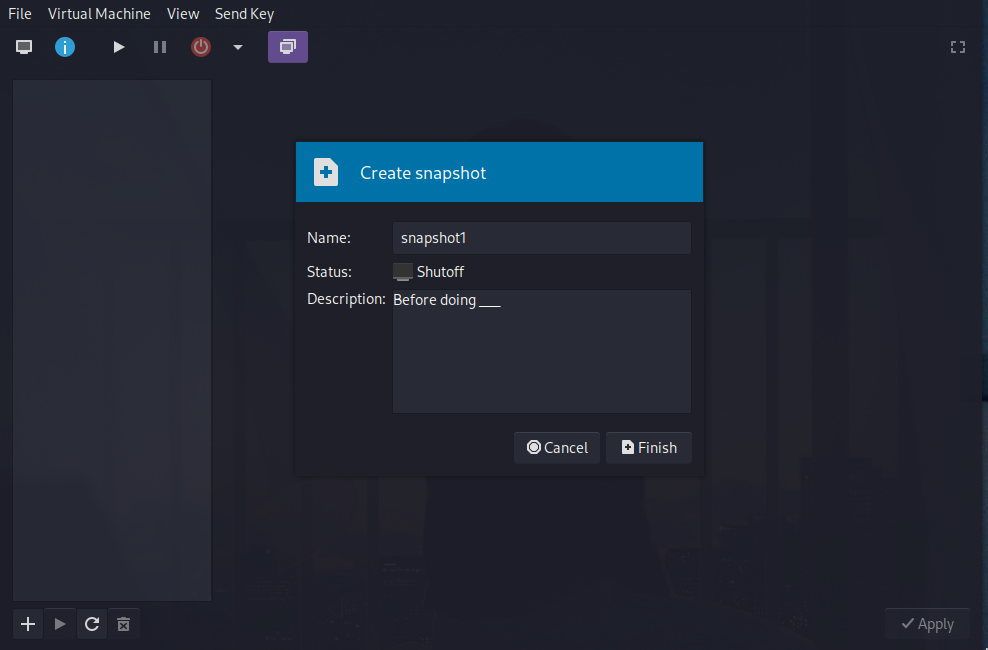
If you are a VirtualBox user… Good news! You can convert an existing VirtualBox .vdi snapshot format into a compatible .qcow2 snapshot format that virt-manager uses. Use this command for the conversion:
sudo qemu-img convert -f vdi -O qcow2 virtualboximagelocation targetlocation

# Example
sudo qemu-img convert -f vdi -O qcow2 PopOS\ 21.04.vdi /var/lib/libvirt/images/popos-21-04.qcow2
And that’s it! If you followed correctly this short tutorial, you should be good to go and build your study labs.